

Imagine slathering a rich, velvety chocolate icing on your cake that tastes like it came from a high-end bakery. Now stop imagining—because this recipe is stupidly easy and wildly delicious. No fancy skills, no obscure ingredients, just pure chocolatey perfection.
Your cupcakes, brownies, and even your morning toast (no judgment) will never be the same. Why settle for mediocre when 10 minutes and a bowl can change your life? Let’s get to it.
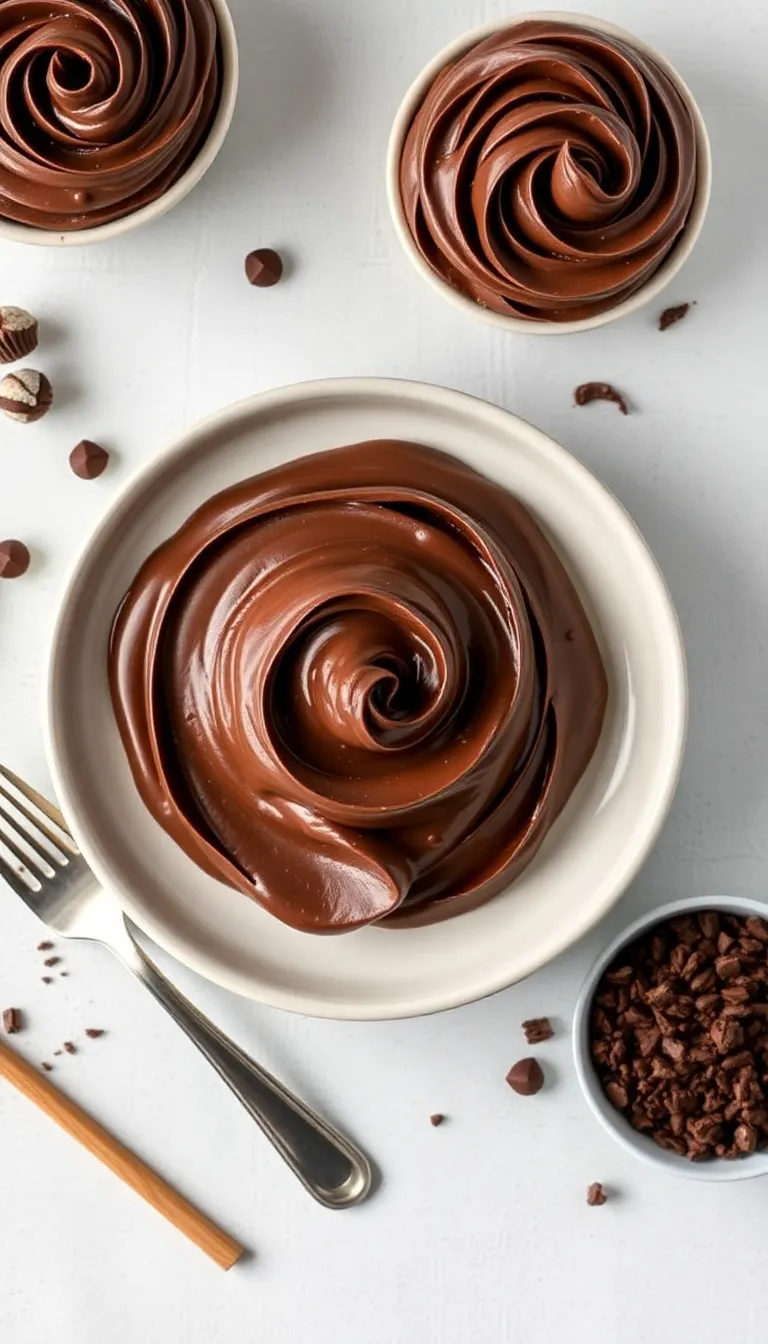
Why This Recipe Works

This isn’t just another cocoa icing—it’s the Goldilocks of frostings.
Not too sweet, not too bitter, and with a texture so smooth it’ll make you want to eat it with a spoon (again, no judgment). The secret? A balance of high-quality cocoa powder, real butter, and a touch of vanilla.
It’s versatile enough for piping but spreadable enough for lazy days. And yes, it’s better than anything in a tub.
Ingredients You’ll Need
- 1/2 cup unsalted butter (softened, because cold butter won’t cooperate)
- 2/3 cup cocoa powder (use the good stuff, not the dusty old can in your pantry)
- 3 cups powdered sugar (also known as confectioners’ sugar, because fancy)
- 1/3 cup milk (whole milk for richness, but any works)
- 1 tsp vanilla extract (imitation vanilla is a crime here)
- Pinch of salt (to make the chocolate flavor pop)
Step-by-Step Instructions

- Cream the butter—Beat it in a bowl until it’s smooth and slightly fluffy. If your arm hurts, you’re doing it right (or use a mixer, you rebel).
- Add the cocoa powder—Sift it in to avoid lumps.
Nobody wants gritty icing.
- Alternate sugar and milk—Add 1 cup of powdered sugar, then a splash of milk. Repeat until everything’s incorporated.
- Throw in vanilla and salt—Mix until it’s silky and dreamy. Taste-testing is mandatory.
- Adjust consistency—Too thick?
Add milk, 1 tsp at a time. Too thin? More powdered sugar.
How to Store This Liquid Gold
Keep it in an airtight container in the fridge for up to 1 week.
If it hardens, let it sit at room temp for 30 minutes or give it a quick whip. Freezing? Sure, for up to 3 months, but let’s be real—it won’t last that long.
Why This Recipe Is a Game-Changer

It’s fast, foolproof, and tastes like you put in way more effort than you did.
Plus, it’s customizable—add espresso powder for a mocha twist or a pinch of cinnamon for warmth. It’s also dairy-free friendly (swap butter for margarine and milk for almond milk). Basically, it’s the MVP of icings.
Common Mistakes to Avoid
- Using cold butter—Your icing will look like cottage cheese.
Not appetizing.
- Skipping the sift—Lumps are for mashed potatoes, not frosting.
- Overdoing the milk—Add slowly unless you want chocolate soup.
- Cheaping out on cocoa—This is the star. Don’t insult it with dollar-store dust.
Alternatives for the Adventurous
- Vegan? Use plant-based butter and milk.
- Extra rich? Swap milk for heavy cream.
- Healthier? Try coconut sugar (but FYI, texture changes).
- Spicy? Add a dash of cayenne for a Mexican chocolate vibe.
FAQs
Can I use salted butter?
Yes, but skip the extra pinch of salt. Unless you’re into salty-sweet chaos.
Why is my icing too runny?
You probably added too much milk.
Fix it with more powdered sugar, 1/4 cup at a time.
Can I make this ahead?
Absolutely. Store it in the fridge and re-whip before using. Easy peasy.
What’s the best cocoa powder?
Dutch-processed cocoa gives a deeper flavor, but natural works too.
Just don’t use hot chocolate mix—that’s a war crime.
Can I color this icing?
Sure, but dark chocolate won’t show pastels well. Stick to deep shades or embrace the brown.
Final Thoughts
This chocolate cocoa icing is the hack you didn’t know you needed. It’s faster than driving to the store, cheaper than bakery frosting, and tastes infinitely better.
Whether you’re frosting a cake, dipping strawberries, or eating it straight (we’ve all been there), it’s a winner. Now go forth and make everything chocolatey.